How to Make a Screenshot on Mac: Easy Guide

Taking screenshots is an essential function that can be used for a variety of reasons, from saving important information to troubleshooting an issue. Whether you're a casual user or a professional, knowing how to take a screenshot efficiently on your Mac or MacBook is an important skill. Fortunately, macOS provides several built-in ways to capture your screen, making it incredibly easy to take high-quality screenshots.
In this guide, we’ll explore everything you need to know about taking screenshots on a Mac, including the different methods, keyboard shortcuts, and customization options available to make the process even smoother.
Why You Need to Know How to Take Screenshots on a Mac
Screenshots are useful for a variety of reasons, whether it’s for personal, professional, or academic purposes. You might want to capture something important that’s on your screen, share a funny meme, document a bug you encountered, or save an important piece of information. Screenshots are often shared in support tickets, emails, and messages, and understanding how to capture exactly what you need quickly and efficiently can save you time and make your workflow smoother.
Understanding Screenshot Options on Mac
macOS comes equipped with several options that make it easy for users to capture their screens. Unlike some other operating systems that require third-party applications, macOS has built-in tools that allow you to take a variety of screenshots depending on your needs.
Types of Screenshots You Can Take on Mac
macOS offers three primary types of screenshots: Full-Screen Screenshot, Selected Area Screenshot, and Window Screenshot. Understanding the different types will help you choose the right method for your needs.
1. Full-Screen Screenshot
The most common type of screenshot on macOS is the Full-Screen Screenshot. This captures everything displayed on your screen, including all open windows and the desktop background. It’s the go-to option for capturing everything you see on your screen in one go.
When to Use Full-Screen Screenshot
You would typically use a full-screen screenshot when you want to capture an entire screen of content, such as:
- A webpage you want to save
- A video playing on your screen
- A full-screen application or presentation

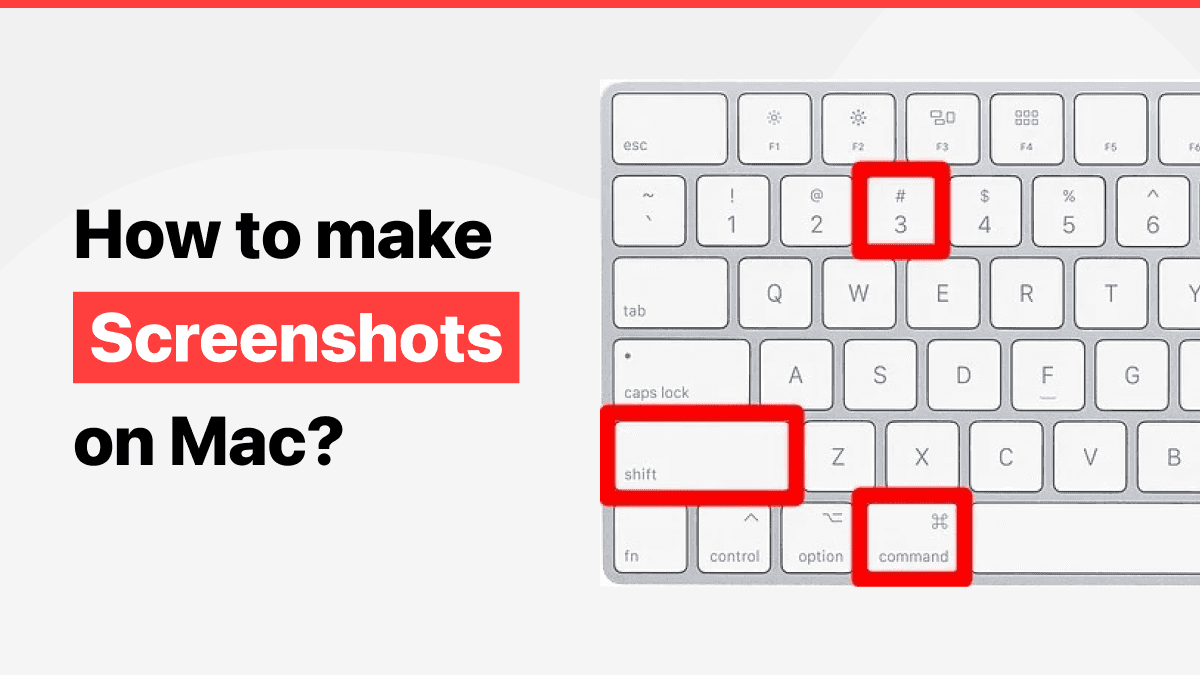
How to Take a Full-Screen Screenshot
To capture the full screen, simply press:
Command + Shift + 3
Once you press this shortcut, your screen will briefly flash, indicating that the screenshot has been taken. The file will be saved in your default location, usually the desktop.
2. Selected Area Screenshot
Sometimes, you only need to capture a specific section of your screen, not the entire screen. This is where the Selected Area Screenshot comes into play.
When to Use Selected Area Screenshot
You should use a selected area screenshot when you want to capture just a portion of your screen, such as:
- A part of a webpage
- A small section of an image or text
- A specific application window

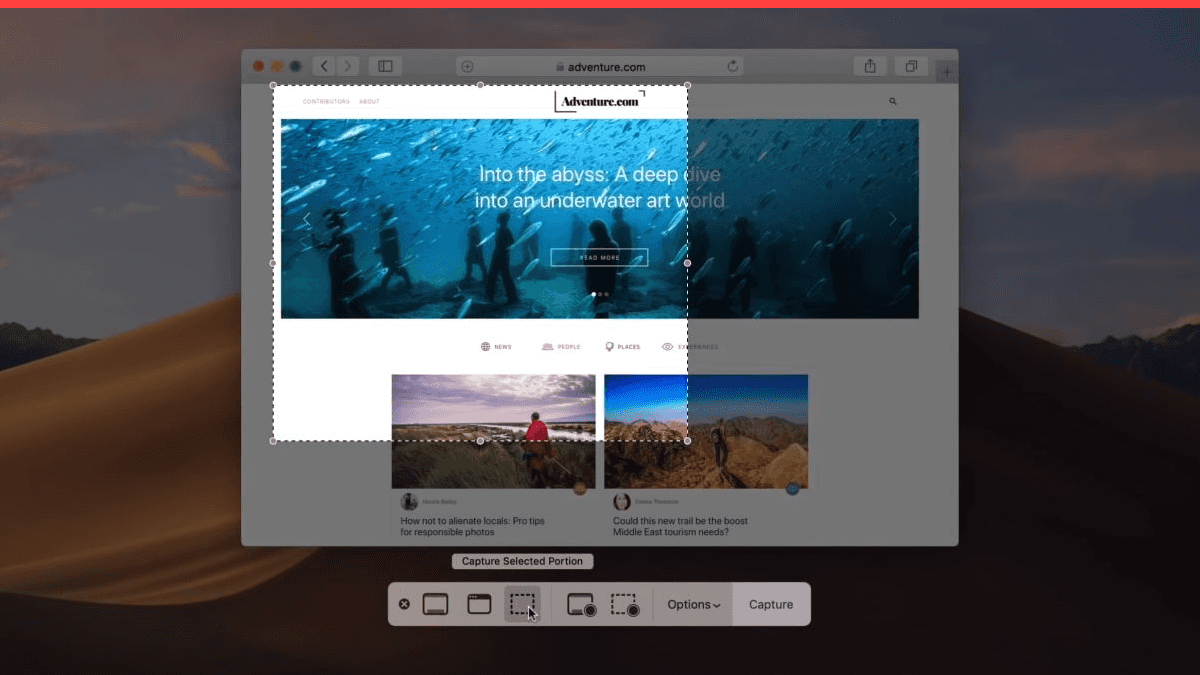
How to Take a Selected Area Screenshot
To take a selected area screenshot, press:
Command + Shift + 4
This shortcut will change your cursor into a crosshair, and you can click and drag to select the area you want to capture. Once you release the mouse button, the screenshot will be taken and saved to your default location.
3. Window Screenshot
If you only want to capture a single window without including the rest of the screen, macOS makes it easy with the Window Screenshot feature.
When to Use Window Screenshot
This is the best option when you want to capture an individual window, such as:
- A browser window
- A specific application or dialog box
- A portion of your workspace that you want to highlight

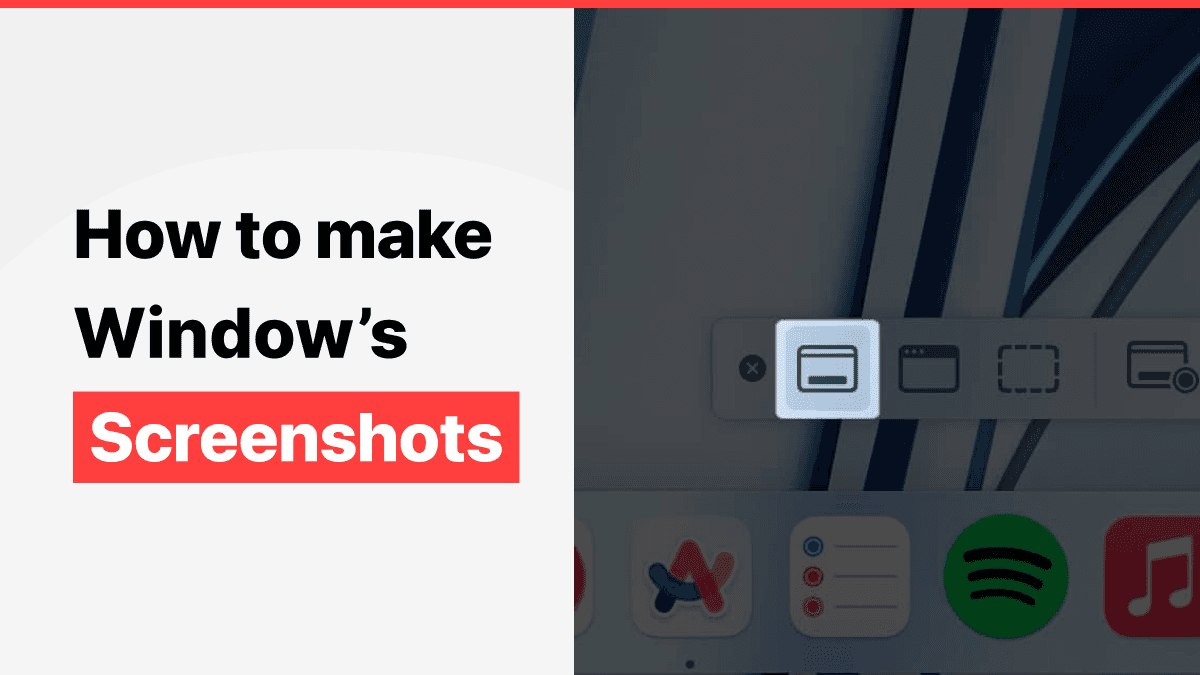
How to Take a Window Screenshot
To capture a specific window, press:
Command + Shift + 4, then press Spacebar
Once you press the Spacebar, your cursor will turn into a camera icon. Hover over the window you want to capture, and it will highlight. Click to take the screenshot.
Keyboard Shortcuts for Screenshots on Mac
One of the biggest advantages of taking screenshots on a Mac is the ability to use keyboard shortcuts. These shortcuts allow you to quickly and efficiently capture your screen, saving time compared to opening third-party applications.
Full-Screen Capture
Command + Shift + 3
This is the shortcut for a full-screen capture. It’s the fastest and most straightforward method to capture everything on your screen.
Area Capture
Command + Shift + 4
This shortcut allows you to select an area of the screen you want to capture. Simply press the keys, drag to select the area, and release to capture.
Window Capture
Command + Shift + 4, then Spacebar
This method is useful when you need to capture an entire window. The camera icon allows you to click and capture a specific window, making it an excellent choice when you want to avoid capturing other elements on your screen.
Touch Bar Screenshot
If you have a MacBook with a Touch Bar, you can also capture a screenshot of what’s displayed on the Touch Bar.
Command + Shift + 6
This captures exactly what’s displayed on your MacBook's Touch Bar, which can be useful for showing specific functions or settings.
Customizing Your Screenshot Settings on Mac
macOS provides several customization options that allow you to fine-tune how screenshots are taken and saved. These settings are particularly useful if you regularly take screenshots and want to streamline the process.
Changing the Screenshot File Format
By default, macOS saves screenshots in PNG format, which is high quality but may result in larger file sizes. If you want smaller file sizes, you can change the format to JPG, TIFF, or PDF.
How to Change the Screenshot File Format
To change the file format for screenshots, open Terminal and use the following command to switch to JPG:
defaults write com.apple.screencapture type jpg
Press Enter to confirm, and then restart your Mac. After that, screenshots will be saved as JPG files. You can also use tiff or pdf instead of jpg if you prefer.
Setting a Default Save Location
By default, macOS saves screenshots to your desktop. However, if you prefer to store them in a specific folder to keep your desktop clean, you can change the default save location.
How to Change the Save Location
To change the save location, use Terminal and the following command:
defaults write com.apple.screencapture location ~/Documents/Screenshots
Press Enter, and then restart your Mac. Screenshots will now be saved in the “Screenshots” folder in your Documents.
Adding a Timer Before Taking Screenshots
If you need time to prepare your screen before taking a screenshot, macOS allows you to set a timer for 5 or 10 seconds.
How to Add a Timer
To set a timer, press Command + Shift + 5 to open the screenshot toolbar. Click on Options and choose either a 5-second or 10-second delay.
This delay will give you enough time to set up your screen before the screenshot is taken.
Common Issues When Taking Screenshots on Mac
While macOS makes taking screenshots easy, there are a few common issues users may encounter. Here are some troubleshooting tips to help resolve them.
Screenshot Shortcut Not Working
If your screenshot shortcut isn’t working, try the following solutions:
- Check macOS Updates: Make sure your macOS is up to date.
- Check Keyboard Preferences: Go to System Preferences > Keyboard > Keyboard Shortcuts and make sure the screenshot shortcuts are enabled.
- Restart Your Mac: A simple reboot may resolve the issue.
Screenshot Not Saving
If your screenshot isn’t saving, check the following:
- Check the Save Location: Press Command + Shift + 5, click Options, and confirm the location where your screenshots are being saved.
- Check Disk Space: Make sure your Mac has enough storage space to save screenshots.
- Reset Screenshot Settings: Open Terminal and run the command defaults delete com.apple.screencapture to reset the screenshot settings to default.
Conclusion
Taking screenshots on your Mac or MacBook is a quick and easy process that can be done using built-in tools and keyboard shortcuts. Whether you need to capture the entire screen, a selected area, or a specific window, macOS provides several options to help you do so with ease. By understanding how to use these tools and customizing your settings, you can make the screenshot process even more efficient. With these tips and shortcuts, you’ll be able to capture your screen exactly how you want, every time.
People Also Ask
How do I take a screenshot on a MacBook?
To take a screenshot, press Command + Shift + 3 for a full-screen capture, Command + Shift + 4 to select a specific area, or Command + Shift + 4, then Spacebar, to capture a specific window.
How do I take a screenshot of just one window on my Mac?
Press Command + Shift + 4, then Spacebar. Your cursor will turn into a camera. Hover over the window you want to capture and click to take the screenshot.
Why is my screenshot not saving on my Mac?
Check your save location in Command + Shift + 5 > Options. Ensure there’s enough disk space and try resetting the screenshot settings by typing defaults delete com.apple.screencapture in Terminal.
How do I take a screenshot on my Mac with a timer delay?
Press Command + Shift + 5, click Options, and select a 5 or 10-second delay. This allows you time to set up your screen before capturing the screenshot.
Can I customize the file format for screenshots on my Mac?
Yes, open Terminal and type defaults write com.apple.screencapture type jpg to change the format to JPG. Restart your Mac, and screenshots will be saved in the new format.


